by kchowanec | Mar 28, 2020 | Uncategorized
Lorem Ipsum is simply dummy text of the printing and typesetting industry. Lorem Ipsum has been the industry’s standard dummy text ever since the 1500s, when an unknown printer took a galley of type and scrambled it to make a type specimen book. It has survived not only five centuries, but also the leap into electronic typesetting, remaining essentially unchanged. It was popularised in the 1960s with the release of Letraset sheets containing Lorem Ipsum passages, and more recently with desktop publishing software like Aldus PageMaker including versions of Lorem Ipsum.
Product List
by kchowanec | Jun 30, 2015 | Announcements

Wow! Do you want to score some amazing deals of up to 60% off on recently retired products?! Go check out the clearance rack now and see all of the amazing deals!
You can snag the Moonlight Paper Pack for $2.79, Texture Boutique for only $14.99, Thick Bakers Twine for $1.39, and Chalkboard Paper for $3.19 just to name a few items! There are more fabulous items on there! Go grab a few deals! SHOP NOW
Be Create, Kristin
Product List

Moonlight Designer Series Paper Stack
[133701]
|

Texture Boutique Machine
[132657]
|
|

Crisp Cantaloupe Thick Baker’s Twine
[135636]
|
by kchowanec | Jun 10, 2015 | Cards, Stamping
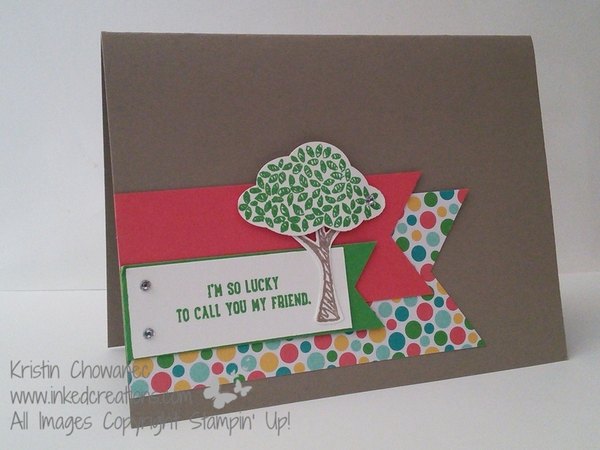
I am just adoring the new stamp set called Sprinkles of Life! There are SO many possibilities with this set! Stampin’ Up! even came out with the Tree Builder Punch so you can easily punch out all the little shapes in this set. This stamp set is the new Ronald McDonald Charity set this year and for every purchase $3 goes to the Ronald McDonald Charity. I love that too!
This card also showcases the brand new 2015-2017 In-Color Collection! Pair them with the fabulous new Cherry On Top Designer Series Paper Stack and you can’t go wrong! They coordinate so perfectly together!
Be Creative, Kristin
Product List
by kchowanec | Jun 9, 2015 | Announcements
by kchowanec | Jun 3, 2015 | Announcements, Stamping
Wait no more! The brand new 2015-2016 Stampin’ Up! Catalog is here!!

Click on the image above to view the online 2015-2016 Stampin’ Up! Catalog. For your own personal copy just send me an email and I would be happy to send you one!
There are so MANY fabulous new items, but I created my Top 5 list to give you an idea of just a few of the new products to choose from!
Enjoy & Be Creative, Kristin
Top 5 2015-2016 Catalog Must Have Items!
by kchowanec | Mar 13, 2015 | Cards, Stamping
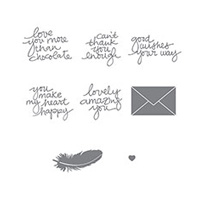
Did you know that Stampin’ Up! releases a new photopolymer stamp set the second Tuesday of every month? The Lovely Amazing You stamp set was released in February and I knew as soon as I saw it that I had to order it!
 This stamp set has 5 fabulous sayings and I especially love the handwriting font! Along with the feather image there is also a little heart and an envelope image. You can see the full stamp set images here.
 I was looking for a soft color palette when I designed this card so I grabbed a piece of the designer series paper from the Lullaby Designer Series Paper Collection. The soft colors worked perfectly. I also love that this paper can be used for SO much more than just baby cards! It just so happened that I used several of the 2013-2015 In-Colors, which sadly will be retiring this year. Make sure you grab them before they are gone!
Card Dimensions:
Baked Brown Sugar Cardstock: 4 1/4″ by 11″
Lullaby Designer Series Paper: 2 1/2″ by 4 1/4″
Whisper White Banner cut using the Banner Framelits
Tips for Creating this card:
- Fold your cardstock base in half.
- Adhere the piece of Lullaby Designer Series Paper at the top of your card base.
- Add a bow by tying a long piece of Crisp Cantaloupe Thick Bakers Twine around the front of your card.
- Stamp your feather image on the banner using Pistachio Pudding Classic Ink.
- Next stamp the greeting of your choice on the tag using the Baked Brown Sugar Classic Ink.
- Randomly stamp the heart image on your tag using the Crisp Cantaloupe Classic Ink.
- Adhere three sequins using glue dots from the 2013-2015 In-Color Sequin Assortment Pack.
- Finish off your card and add the banner to the front of your card base using Stampin’ Dimensions.
Be Creative, Kristin
Product List
by kchowanec | Feb 26, 2015 | Cards, Stamping
It’s been SO cold here in the midwest that I’ve been creating spring cards in hopes to bring some sunshine and warmth our way!
I started out creating this card using the FabFriday challenge layout. Isn’t this a fun and versatile layout?! It really got my creative juices flowing!
 I also added the Stampin’ Royalty Color Challenge #268 which screamed spring to me!
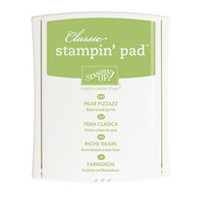
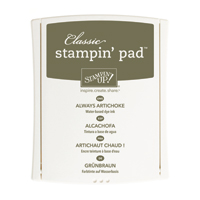
 Aren’t these colors beautiful together?! Crisp Cantaloupe, Calypso Coral, Pear Pizzaz, and Always Artichoke!
 And here is the finished card! Now to add a message and get this little bit of spring out in the mail to someone!
Be Creative, Kristin
Product List
by kchowanec | Feb 10, 2015 | Cards, Stamping
I have been busy making valentine’s this week! This valentine is fun to make and uses a technique that I call a watercolor wash. See below for instructions on how to make this card!
 Card Dimensions:
Coastal Cabana cardstock: 4 1/4″ by 11″
Shimmery White cardstock: 3″ by 3″
Basic Black cardstock: 3 1/4″ by 3 1/4″
Strip of Designer Series Paper: 4 1/4″ by 3/4″
Tips for creating this card:
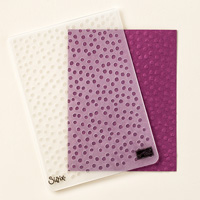
- Start by embossing the front of your card using the Decorative Dots embossing folder.
- Next grab your Coastal Cabana classic ink pad and squeeze it together to get ink to pool in the top of the ink pad.
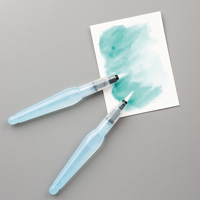
- Using your aqua painter, filled with water, you want to pick up some of the Coastal Cabana ink and do a wash over your Shimmery White cardstock. You will have to pick up ink and do this several times to cover the front of the cardstock. The Simmery White cardstock or Watercolor paper works best for watercoloring.
- Let this piece dry fully before stamping your image.
- Using your Memento Ink pad stamp the cloud image from the hostess stamp set Hello Love.
- Color in the open hearts with your Real Red Stampin’ Write Marker.
- Fill in the same hearts with your Dazziling Details and let dry.
- Layer your stamped piece onto your Basic Black cardstock and add this to the front of your card using Stampin’ Dimensionals.
- Add your Real Red Cotton Ribbon to your piece of Love Stack Designer Series Paper Stack and adhere to your card front.
- Admire your creation and send it off to your loved one!
Be Creative, Kristin
Product List
by kchowanec | Jan 27, 2015 | Cards, Stamping

So let’s be honest, sometimes you just don’t have a lot of time to craft. I know because I have been experiencing the crafting doldrums lately! I finally sat down Friday night with my newest Paper Pumpkin box and some new supplies from the Occasions Catalog and did some crafting! This sweet valentine was created using an exclusive stamp set from January’s Paper Pumpkin box. Let me tell you how thankful I am to have that little red box delivered to my door once a month! Especially when I don’t have a lot of time to be creative on my own! If you don’t have the little red box in your mailbox every month you are missing out! Right now during Sale-A-Bration you can order the pre-paid 3 month subscription for the sale price of $54.85 and when you order it you will receive Sale-A-Bration benefits!
Be Creative, Kristin
Product List
by kchowanec | Nov 18, 2014 | Cards, Stamping, Uncategorized
Today’s card features the Seasonally Scattered stamp set. I used one of my favorite techniques called the Rock N’ Roll technique with the ‘thanks’ saying on the front of this card.

Card Dimensions:
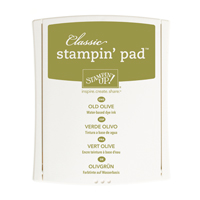
Old Olive (card base): 5 1/2″ by 8 1/2″
Whisper White card stock: 5″ by 3 1/2″
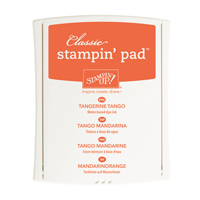
Tangerine Tango card stock: 5″ by 1″
Tips for creating this card:
- Start by embossing the front of your card base (Old Olive) using the Woodgrain Textured Embossing Folder. This folder really adds to the fall feeling of the card.
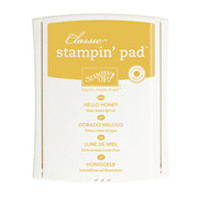
- Ink the “thanks” stamp from the Seasonally Scattered stamp set in Hello Honey Ink and then roll only the edges of the inked stamp in the Tangerine Tango ink. This is called the Rock N’ Roll Technique. Stamp this image onto your Whisper White card stock. You may want to practice this a few times to get the hang of it. Just make sure to clean your stamp well in between stamping.
- You can add stamps around your focal image if desired. I added some leaves in Hello Honey and the word ‘give’.
- Punch the strip of Tangerine Tango card stock using your Scallop Edge Border Punch and attach this to the bottom of your Whisper White card stock.
- Tear off a piece of Washi Tape from the Season of Style Washi Tape pack and adhere it to the lower right hand corner of your Whisper White card stock.
- Attach a piece of skinny ribbon (I used a retired ribbon here) using your handheld stapler.
- Add the main image to the front of your card using Stampin’ Dimensionals.
Be Creative, Kristin
tams# 1544
Product List


![Celebrate With Us [french, clear] Celebrate With Us [french, clear]](https://assets.tamsnetwork.com/images/EC042017NF/134432s.jpg)


