by kchowanec | Nov 8, 2014 | Cards, Stamping
I’m here!! I know it’s been awhile. I had a great time last weekend stamping with the ladies that attended my annual Holiday Jingle event! I’ve been asked to share the cards that we created and I’m starting with this cute little bird. Isn’t he sweet?!

Card Dimensions:
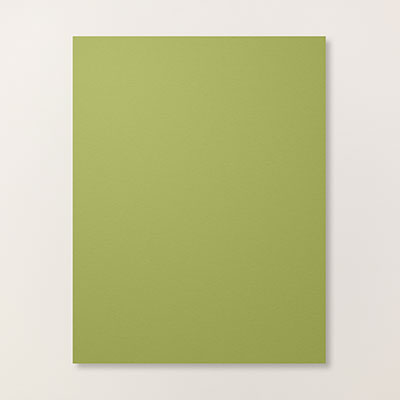
Old Olive (card base): 8 1/2″ by 5 1/2″
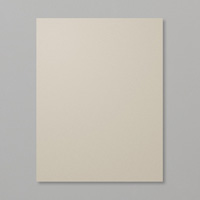
Sahara Sand: 4″ by 5 1/4″
Season Of Style Designer Series Paper: 3 3/4″ by 1 1/2″
Tips for creating this card:
- Start by stamping your bird image from the For The Birds Stamp Set on a scrap piece of Whisper White card stock. Punch your image out using your 2 1/2″ circle punch.
- Using your Stampin’ Write Markers color your bird image.
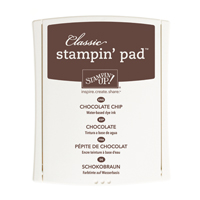
- Sponge the edges of the circle using your sponge and the Chocolate Chip Classic Ink.
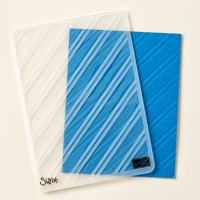
- Take your piece of Sahara Sand card stock and using the Stylish Stripes Textured Impressions Embossing Folder run it through your Big Shot. Adhere this to your Old Olive card stock card base.
- Cut a flag end on your piece of Season of Style Designer Series Paper using paper snips. Adhere this on top of your Sahara Sand card stock.
- Using Stampin’ Dimensionals add your focal image to the front of your card. You’re done!
Be Creative, Kristin
tams# 1716
Product List
by kchowanec | Aug 30, 2014 | Cards, Stamping
I’m off to help my sister and her family move into their new home! Of course I couldn’t show up empty handed so I created a card using the new Holiday Home Photopolymer stamp set!
 Card Dimensions:
Old Olive (card base): 8 1/2″ by 11″
Moonlight Designer Series Paper: 4″ by 2 1/2″
Daffodil Delight: 3 1/4″ by 2 3/4″
Whisper White: 3″ by 2 1/2″
Tips for creating this card:
- Stamp your house image using the Tuxedo Black Momento Ink on a piece of scrap Whisper White card stock. Color the house in using your Old Olive Blendabilities for the house and Daffodil Delight for the windows.
- Use your Homemade Holiday Framelits to cut out the house from your scrap paper.
- Place your colored house on your piece of 3″ by 2 1/2″ Whisper White card stock using two Dimensionals. Stamp the remaining house and lamps using the Tuxedo Black Momento Ink.
- Punch the heart out using the heart shape punch from the Itty Bitty Accents Punch Pack from your Blackberry Bliss card stock scrap.
- Adhere the Moonlight Designer Series Paper to your card front.
- Add your Blackberry Bliss ribbon by cutting it slightly larger than your designer series paper. Adhere the ends to the back of the paper and tie a bow on the front.
- Use Stampin’ Dimensionals to add your main focal image to the front of the card.
Be Creative, Kristin
tams# 1160
Product List
|
|
|
|
|
|
|
|
|
|
|
|
|
|

Soft Suede Stampin’ Write Marker
[120973]
|
|
|
|
by kchowanec | Aug 25, 2014 | Cards, Stamping
 Today’s card was inspired by this weeks Pals Paper Arts Sketch Challenge (PPA216). I love this clean and simple sketch and knew instantly that the Four Feathers stamp set (available in the Holiday Catalog August 28) would be perfect for this card.

Card Dimensions:
Lost Lagoon: 8 1/2″ x 11″ card base
Sahara Sand: 3 3/4″ x 5″
Whisper White: 2 1/2″
Moonlight Designer Series Paper: 2 1/2″
Tips for creating this card:
- Stamp your feathers in Hello Honey, Lost Lagoon, and Sahara Sand. Use the matching Feathers Framelits to cut them out. No more fussy cutting! Put a little SNAIL adhesive on them to hold them together.
- Tie a bow using your Whisper White Twine and adhere it with a glue dot to the top of your feathers.
- Assemble your card layers. The white layer and designer paper are cut to overlap slightly on your card.
- Before adhering them to your card base add your ribbon. Cut your Lost Lagoon ribbon slightly larger (about 4 1/4″) and wrap it around to the back and adhere with SNAIL adhesive.
- Add your feathers to the front of your card using a Stampin’ Dimensional to give a little height.
- Stamp your greeting in Hello Honey.
Be Creative, Kristin
tams# 1093
Product List
by kchowanec | Aug 19, 2014 | Cards, Stamping, Tutorials
Did you know that Post-It notes can be a great tool for stamping?! I know they are great for taking little notes and marking pages, but I have a stack of them sitting on my stamping table at all times! Today’s technique demonstrates how to use these handy Post-It’s to create a layered image that adds depth to your cards and projects.
 The first step is to find a stamp set that will work with this look. I decided to use my new favorite set, Flower Patch. Choose several colors that will go well together. I grabbed 5 different colors from the subtle family to use on my card. I will post my supplies list below.
Always start by stamping the image that you want to appear in the foreground of the card (on the top of the other images). In this case I used the largest flower image from this stamp set.
 After stamping your first image, ink it up and stamp it again on a Post-It note. Make sure to get part of the image on the sticky part of the Post-It. Then cut this image out as close to the edge as you can get. This becomes your mask. I created a second mask for the pink flower on this card as well.
 Using your mask to cover up your main image, stamp the images that will appear behind it. You can remove your mask and continue using it several times. Once you are satisfied, remove and admire your work!
 It really is that easy!! With a few basic supplies you can be making beautiful layered cards like this! I hope you take a second look at those Post-It notes sitting on your desk and give this technique a try today!
Be Creative, Kristin
Product List
by kchowanec | Aug 5, 2014 | Cards, Stamping
Tonight is card class night at my house! I look forward to card class every month! I know all of my customers look forward to stamping, but I look forward to seeing and visiting with all of them! I thought I’d share one of the cards that I created for card class tonight. This one uses a single stamp called Snapshot.
If you live in the area and want to come to card class, I’d love to have you! Send me a message and I will get the dates and information to you!
Be Creative, Kristin
 tams# 981
Product List
by kchowanec | Jul 22, 2014 | Cards, Stamping
I’ve been busy making swaps to share with other demonstrators at the Stampin’ Up! Annual Convention! I love swapping with other demonstrators and getting new ideas.
This first card I created used the new Flower Patch stamp set with new 2014-2016 In-Colors. This stamp set is quickly becoming one of my favorite! It’s a new photopolymer stamp set which makes lining up stamps a breeze!

tams# 899
Product List
I also participated in an organized swap the last day of convention. I used a technique called the Whitewash Technique for this card. See my instructions for the Whitewash technique HERE.
Be Creative, Kristin

tams# 900
Product List







 C
C









 It really is that easy!! With a few basic supplies you can be making beautiful layered cards like this! I hope you take a second look at those Post-It notes sitting on your desk and give this technique a try today!